Thinking big picture
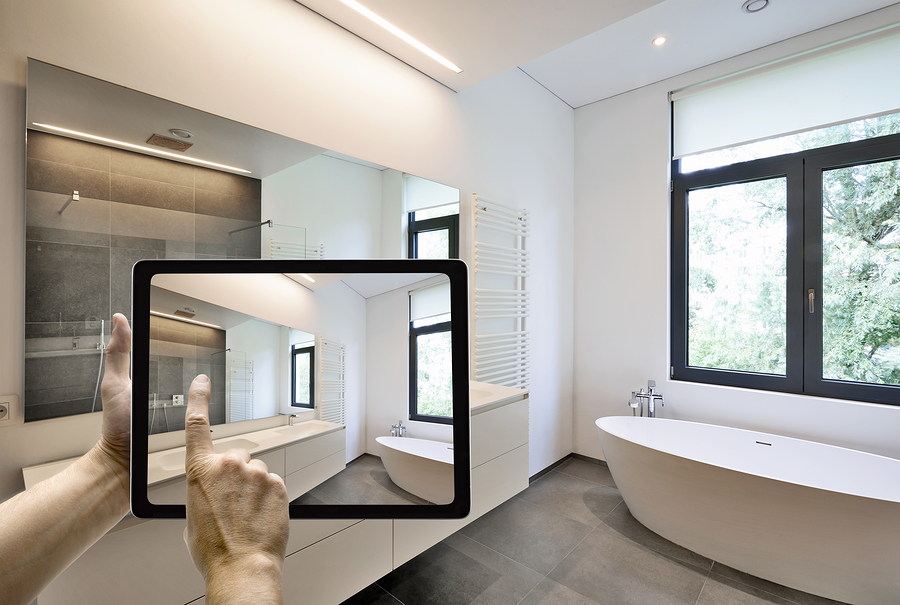
The photos on your website should communicate who you are. Whether you use stock, illustrated, or custom imagery the photos you use on your website can have a huge impact on your conversion rates.
Because photography is a large part of converting visitors into customers… getting it right shouldn’t be left to chance so we wrote this post to help you navigate choosing and shooting the right imagery on your website.
Let’s get started…
Option 1: Stock photo and video
Stock photos are great. I used them to get started and still use them on my site when they fit. While I am not a huge fan of those “look in the camera and smile” stock photos, when chosen well, stock photos have their place.
Tips when using stock photos:
- Typically a realistic photo converts better than a stock photo, if you are using stock photos, consider photos that aren’t quite perfect and polished.
- Edit stock photos to add your logos to add realism.
- Try not to use well known stock images so that your website feels more authentic.
- Don’t use stock images for every photo on your website. Try to pepper real images in with your stock images.
- Don’t use stock images for testimonial pictures… they will read as fake and doom the credibility of your website.
Where to get your stock photos

My favorite source for stock photos/video is Bigstock. While not as high end as others, it is affordable, gets the job done. You can get a subscription if you use a large number of images or you can purchase credits to redeem for photos and images.
Other options include:
Shutterstock (more expensive but higher quality)
Photodune/ Videohive (lower quality and smaller selection but affordable)
Look out for AppSumo deals for DepositPhotos where you can purchase 100 photos for about $40
Option 2: Illustrative Photos
Illustrated photos are a way to add a high-end touch to your website. While they don’t convert as well as photos with people, strong icons can add to your sense of branding and professionalism. While they shouldn’t completely replace imagery with people, they can add nice accents to your site and help explain the finer points that photos can’t.
Where to get icons:
Flaticons– I get a lot of my icons for free from Flaticons. You can search almost any topic and download
Fiverr– If you are on a budget, Fiverr may be the way to go. Beware though, some Fiverr artists just download icons from sites like Flaticons and resell them.
Custom icons- Hiring a designer can set your brand apart. Many of the top Launch27 sites have custom icons which helps to really build the recognizability of their brand.
Option 3: Custom photos and video
This option may seem out of reach to many, but it actually can be much more affordable than you think and the return on investment in terms of conversion, brand integrity and trust is invaluable.
Shooting custom videos and photos puts you in the leagues with the big boys and can really help set your business apart without breaking the bank.
Here’s how to do it:
First, before you employ either of the options below, look for inspiration. You are going to want to go into a shoot knowing what you want your video to look like. Take inspiration from the larger companies like Handy or Molly Maids, so you can create a video that will fit your potential customers expectations…
Ok, now on to shooting.
Least expensive
Pull out your Smart phone and shoot the clips yourself.

This may seem overwhelming but it’s really quite simple. Your smart phone likely has a decent to excellent camera and if you buy a cheap stabilizer on Amazon and hire an editor, your videos and images can actually look professional.
When shooting, make sure you have a great location and lighting (I rent an Innclusive or some people rent Airbnbs for a day) and bring your talent (usually people who work for you) there to shoot your video. Make sure you get a variety of shots (the more the better) with different angles, people and products being used.
After, you will need to edit your clips. You can find an editor anywhere (fiverr/ Upwork- if you are going super budget or in a Facebook group- if you want something more professional) and they can take your clips and direction to make magic. Add text or voice over and you have a professionally created video (my favorite place for voice over artists is fiverr for any budget).
More expensive
Hire someone
This also doesn’t have to be terribly expensive. I have found great photographers and videographers on Thumbtack, Groupon, by posting on Craigslist and in Facebook groups. They will bring professional equipment and can help you set up your shots leaving you to focus on the content and your vision of what’s being shot.
If you don’t want to use your staff for your videos, you can hire people you know, post on craigslist or again, post in a local Facebook group for actors. Make sure each actor signs a release (including and especially your staff) because inevitably a staff member will no longer work for you and you don’t want to no longer be able to use your video.
Again, hire an editor. Your photographer/ videographer may have editing skills or you can find a pro. Either way, if you get a professionally shot video, spend the money on a professional editor. Many times the editor is who can make or break videos.
So those are our tips. Have your own tips or are you thinking about trying your hand at shooting video? Let us know how it goes.

